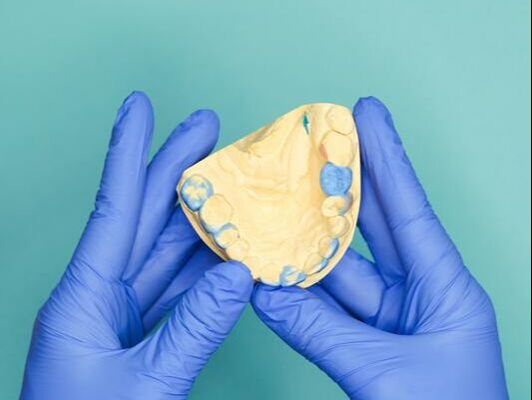
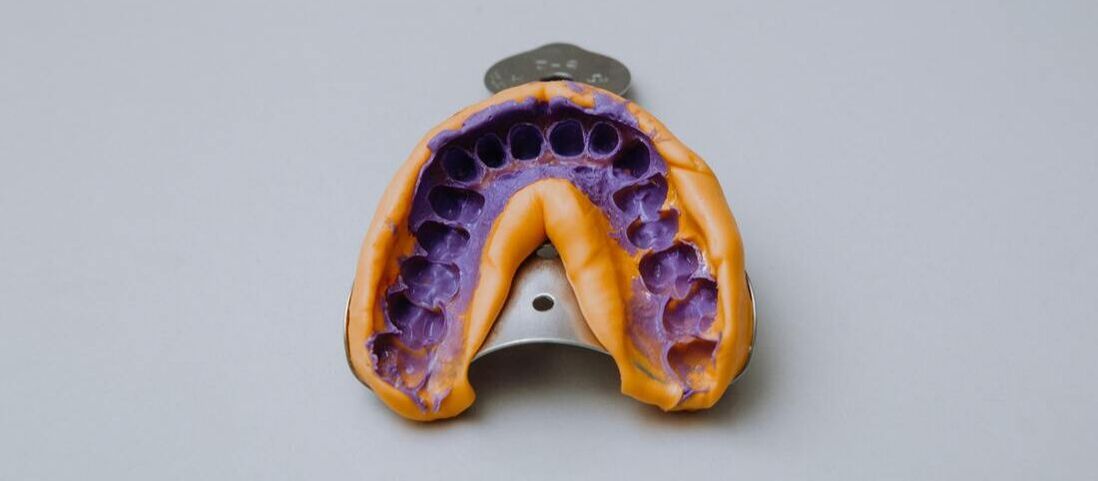
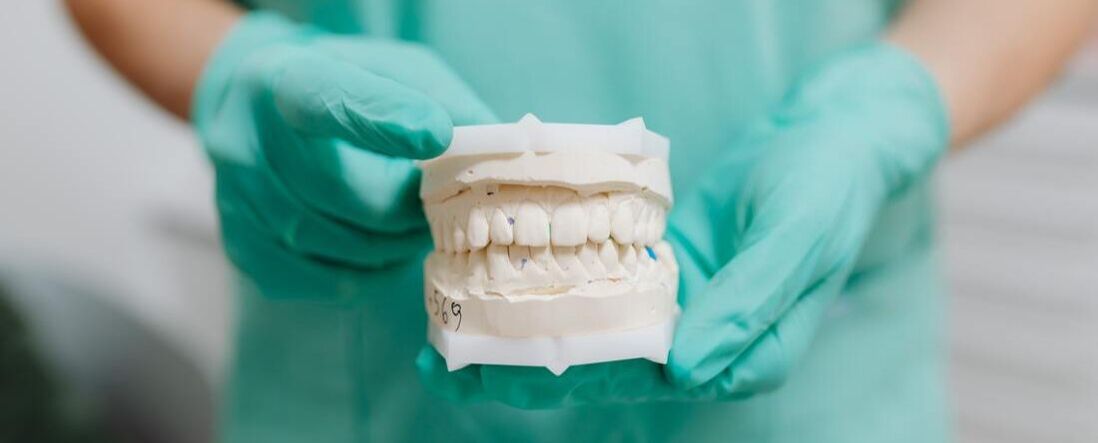
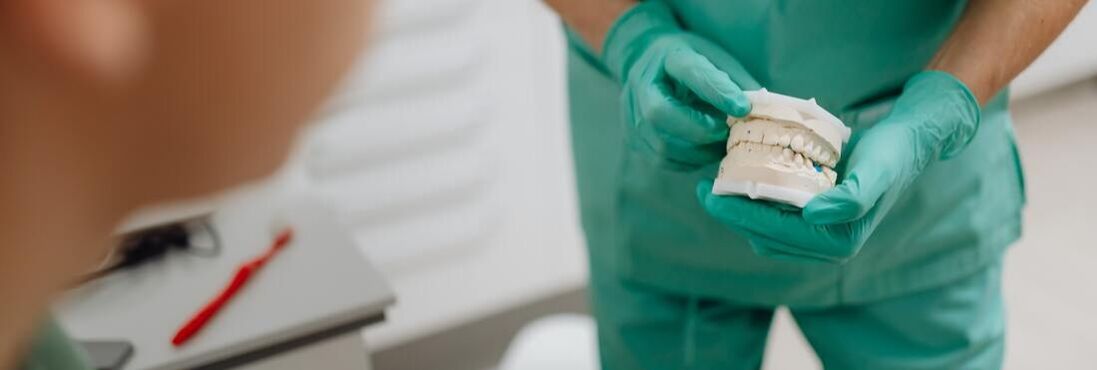
Taking impressions is an essential procedure in dentistry and is usually one of the first steps in the restoration and diagnostic process. Whether they’re for diagnostic casts, dentures, crowns, bridges, or aligners, they are a key part of getting an accurate restoration. WHAT ARE DENTAL IMPRESSIONS?Dental impressions are engravings of a patient’s teeth, gums, and surrounding oral structures used to create diagnostic models of the mouth. Impressions can be traditional or digital, with the traditional process consisting of a special putty that the patient physically imprints. The digital route uses a handheld wand and computer software system that scans and captures images of the teeth. They are also used for dental restorations, retainers, mouth guards, whitening, trays, and more. The models created from the impressions provide information to the dentist and lab on how a patient’s arches fit together and the size and relationship between the teeth and gums. Some uses include:
THREE TYPES OF DENTAL IMPRESSIONSThere are three primary types of dental impressions: preliminary, final, and bite registration. Preliminary impressions are the initial step for either diagnostic purposes or for the process of fabricating prostheses, such as crowns or dentures. Often taken place during the initial dental office visit, they serve as a visual aid for practitioners to use to create a treatment plan. Furthermore, final impressions are meant to be delivered to a laboratory that will manufacture the dental restorations or appliances. Lastly, a bite registration is a type of impression that conveys how the upper and lower teeth fit together, their relationship, and their size. TIPS FOR GOOD DENTAL IMPRESSIONSUnfortunately, taking impressions is not always a simple task as there are many factors working against the accuracy. Problems ranging from the material properties, the patient’s gag reflex, and even the room temperature can drastically affect the impression. While some impression tactics can be taught, most practitioners agree that taking an accurate impression is learned over time through trial and error. With their experience, seasoned dental and lab professionals have compiled this list of tips and tricks to achieving the most accurate dental impression the first time. Keep the margins clear. Keeping the margins of the mouth clear is vital for achieving an accurate impression. Patients are likely to produce a lot of saliva during this process, so using retraction products that will help clear the saliva from the mouth is helpful. Bleeding may occur as well. Dentists should consider using hemostasis agents if the patient is bleeding a lot. In addition, using a hydrophilic material will counteract the unavoidable blood and saliva near the margins. Air drying the prep helps to keep the margins clear of debris, saliva, and blood as well. It ensures that the margins are clearly visible and that the dentist can get a clean facial surface. Prevent voids. When filling the syringe with the impression molding material, a common issue that occurs is inadvertently catching air. That’s why it’s important to fill the syringe with a watchful eye carefully. Another cause of voids is that the impression surface is not completely dry. Before inserting the tray, make sure to remove any moisture to ensure a smooth layer. Try the tray first. Prior to adding impression material, trying the tray inside a patient’s mouth is a best practice. First, it allows the patient to feel the tray inside their mouth without the impression material, letting them know what to expect when the impression is taken. This makes the impression process easier and more predictable. Second of all, this allows the dental professional to know if the tray is the correct size for the patient. For full arches, it is recommended that the tray fits over the bite registration. For sizing a triple tray, have the patient bite down on the empty tray and check the opposite side of the arch. Doing this will help the clinician picture what the occlusion should look like and also give the patient the opportunity to practice biting down correctly. Minimize the patient’s gag reflex. If a patient gags or moves too much, an impression can become distorted. For patients who are susceptible to gagging, use the smallest amount of material that still allows you to capture all the necessary details. The excess material is what usually triggers the gag reflex, but it may help to have the patient sit upright and lean slightly forward to minimize the feeling of material going down their throat. In more severe cases, it helps to have the patient focus on breathing slowly through their nose. Distraction techniques like lifting a leg during the impression work well for some patients, too. Talking to the patient during the procedure may serve as a diversion. Even if a patient has been given instructions, giving verbal updates during the procedure can be effective to avoid accidental movements. Consult the Instructions for Use. Warped impressions can occasionally be the fault of expired materials. That’s why it is essential to always check the manufacturer’s expiration date and consult the Instructions for Use before performing the impression. Following the manufacturer’s instructions can prevent distortion in the impression caused by improper timing, mixing, temperatures, etc. Having a timer and working according to the directions will enable the impression material to be mixed thoroughly and set properly. Removing the tray too early can result in tearing, rough surfaces, and inaccurate restoration. Taking your time when packing the retraction cord is critical to ensure there’s enough time for the tissue to respond. The goal of the cord is to maximize the periodontal space to make it easier for the dental lab at the end of the line. However, if the cord does not have the proper time to sit, its function is defeated and it will only serve to traumatize the area surrounding the sulcus. Impression materials vary widely and thus handle differently in various temperatures. The slightest differences in water or air temperature can significantly alter the outcome of the impression. The manufacturer’s instructions are the best bet for securing the ideal temperature for each impression. Even after getting used to a specific brand, consulting the directions is always best practice. They will be the key to providing consistent and accurate impressions and minimizing chairside time at cementation. If the directions are unclear or you may have questions, talk to the manufacturer’s representative for the impression material. They will help to assist you and ensure the product is functioning optimally. Get the full arch. Most dental laboratories appreciate receiving full arch impressions as they provide the most information. Most dentists who are concerned about occlusion will likely perform full arches. The full-arch impression displays accurate excursive movements to better control occlusal interferences while the opposite side of the arch stabilizes the occlusion. On the other hand, a quadrant impression enables the opposing arches to rock buccal and lingual. Always confirm with the dentist that a full-arch impression is preferred before performing. Sources: The 10 golden rules for taking impressions How To Take Great Dental Impressions Tips for Taking Accurate Dental Impressions Dental Impressions Keywords:
Impressions, The Dental Lab, laboratory, dentistry, dentists, occlusion, dental, dental impressions, teeth impressions
0 Comments
Leave a Reply. |


